Overview

During my second year of University, I was tasked with further understanding of the graphical pipeline, building upon the knowledge of year one and OpenGL. For this project I created a basic seen in DirectX11 using C++ that showed of key skills and aspects of graphics I have learnt.

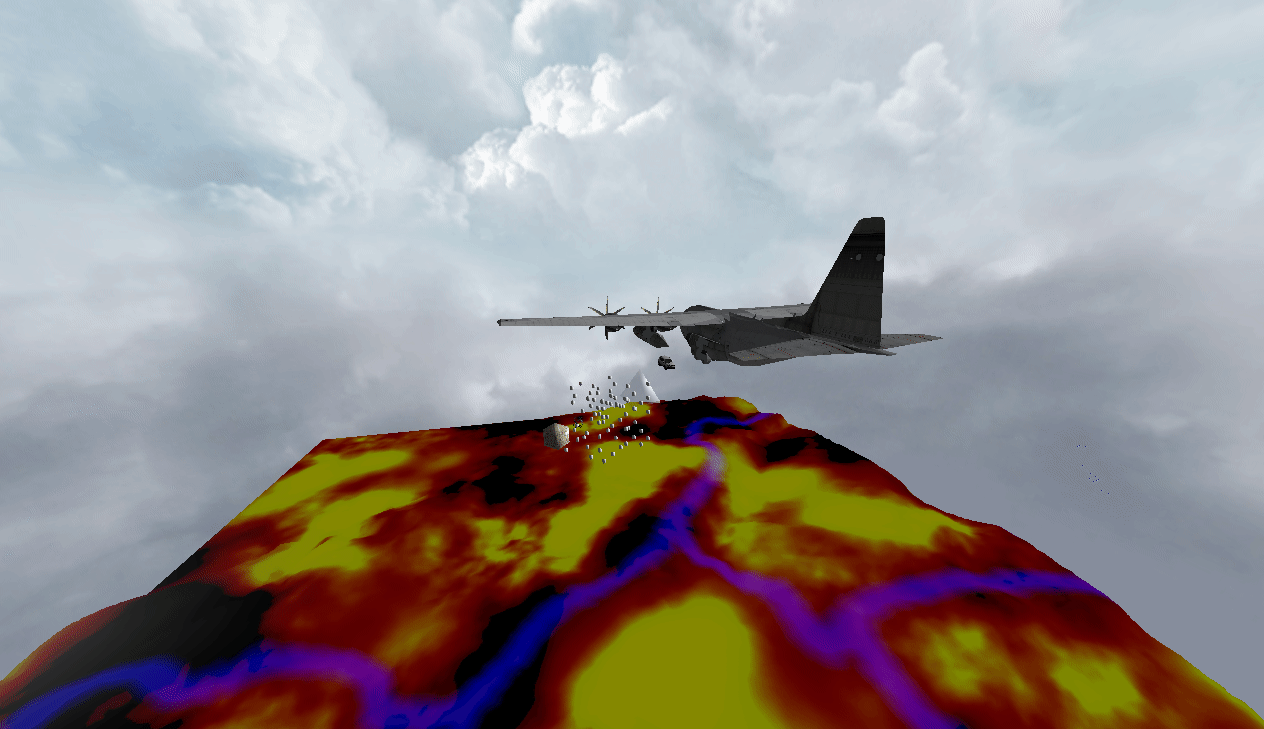
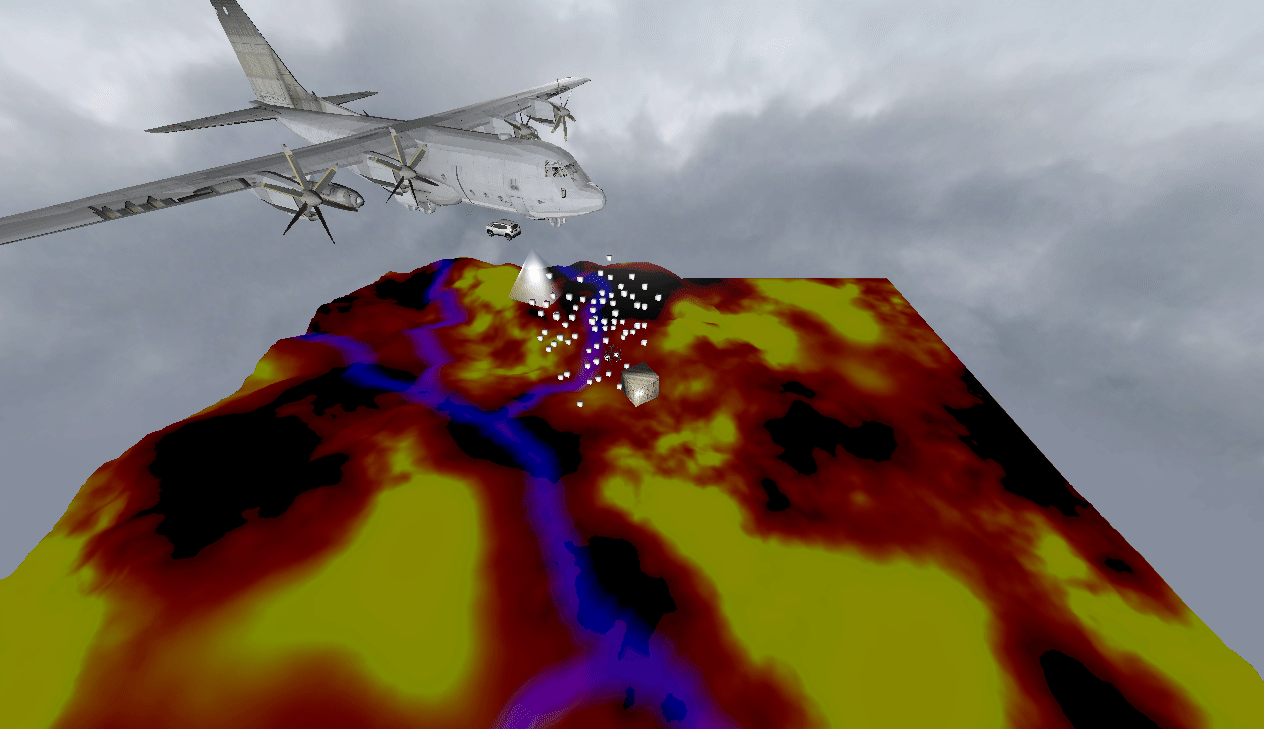
This GIF shows the final piece I produced which is a complex 3D scene that can load .obj files and render them using lighting, materials, and textures. A depth buffer is used, and to ensure smooth animations double buffering has been implemented. The player can move around the scene using their keyboard to control the camera or turn the lighting off and on.

Grade: First

Features implemented:


Hard Coded Cubes (both Textured and Untextured)
Transparent Pyramid
Textured Model Loaded Objects
Specular Mapped Crates
Full Per Pixel Phong Lighting
Additional Area Light
Fully Controllable Debug Camera
Three Different Static Cameras
Static Camera That Looks at an Object
Picking
Terrain
Alpha Clipped Texture
Skybox (follows camera)
Json Loading of Config Files (Lighting and Object Data)
Heightmap
camera follows object in scene

Starting To Believe

This project was the first step in moving away from taking an objects position and adding a number in a direction, it introduced the uses of Matrices to translate, rotate and scale an object in accordance with the other objects in the world. As can be seen in the gif all objects orbit the object in the centre, this I don’t by giving any new object the world matrix of its parent, thus if the parent rotates then the child will.

The camera also uses a method of matrix manipulation, if the position of the camera is moved manually using a scalar value to move it along an axis the camera become jumpy and frustrating to use, instead the cameras world matrix is inversed into the view matrix the position is then moved and fed back into the world matrix, this method produces a camera that is smooth but can also rotate around its axes giving it pitch, yaw and roll movements. It’s interesting to note that by using this method the camera never leaves the origin, by taking it back to the view matrix to manipulate all other objects move in accordance with what the camera is doing.

Overview of final Project

Earth and Sky

Terrain and skybox are almost expected in games, giving the world a sense of realism or believability the player would expect. with this in mind I implemented a skybox by rendering a cube around the camera and using the matrix maths to lock the position of the cube to the camera so the ‘player’ cannot clip the bounds of the sky. However its more complex then just rendering a cube, as I have created a z buffer and back face culling the texture on the cube is rendered on the outside and the cube is not seen by the camera, to fix this I opted to turn off the back face culling for the skybox only, another way would have drawn the cube inversely making the vertices opposite and draw the texture on the inside. The second problem was to ensure the skybox was drawn after the solid objects, this meant that the skybox wouldn’t block view of the objects but also cut down on the memory used as the parts of the skybox that were blocked by objects is not drawn. This did not include all objects as the transparent objects need to ‘reflect’ what is behind them for that transparent effect.


Terrain was generated using a height map, first a plane was created by implementing a function to generate a series of vertices using the dimensions of the height map. the planes vertices were then looped through and applied the y value of the vertices only, these values could be scaled using a scalar to change the result, once drawn the texture shows dips and peaks according to the height map. this method of generating a plane first means that the program can use any height map with minimal changes to the code.

Close up of cube with phong shading

Pixel Shader

This project was my first introduction into shader languages, taking the next step in lighting rather than applying lighting across a face of the object using the normal the lighting is calculated per pixel of that face providing more realistic reflections and light behaviour. The gif shows the 3 light systems ambient, diffuse, and specular on the objects and using HLSL to calculate the effects of light on the pixel shader by utilising the constant buffer to pass the information to the GPU, such as the light info, the camera position and object normals.